19V 237A 45W Square AC Power Adapter Charger for Asus X553 X553M X553MA Q302LA
€13.55
19V 2.37A 45W Square AC Power Adapter Charger for Asus X553 X553M X553MA Q302LA
Active filters
19V 2.37A 45W Square AC Power Adapter Charger for Asus X553 X553M X553MA Q302LA
0.5mm Blue GPU CPU Heatsink Silicone Compound Thermal Conductive Pad
1 set DC Power 5.5*2.1mm Jack to 34 Plug Adapter Notebook Universal 66 Male Adapter Audio Connector
HP 4535S 4730S 8460P 8450p 8460p 6460b 6470B 8460W 4530S CPU cooling fan 646285-001 641839-001
1 set DC Power 5.5*2.1mm Jack to 36 Plug Adapter Notebook Universal 66 Male Adapter Connector + Power cord clamp
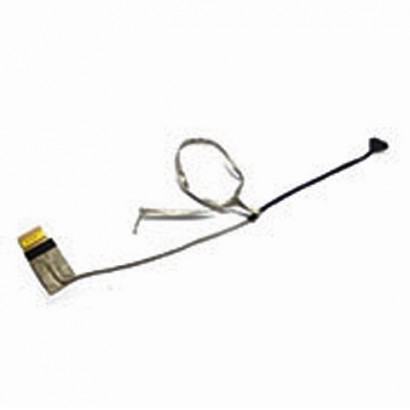
LVDS Cable for screen HP 15-ab p/n: DDX15ALC000 DDX15ALC010 DDX15ALC020 809342-001
T13-B BaKon integrated heating core lead-free portable 75W constant temperature soldering iron core
TM-1017 TM-0917 LCD Inverter Transformer For Samsung 940NW 740N
LVDS Cable for screen Lenovo G470 G475 P/N: DC020015T10 PIWG
QUICK 861DW lead-Free hot 1000W 220V High-Power Hot air Disassembly Station
30W Soldering Iron with T-head + Blue Teflon Cable
CM141 Lead-Free Titanium Alloy Solder Soldering Pot Desoldering Bath 900W 220V
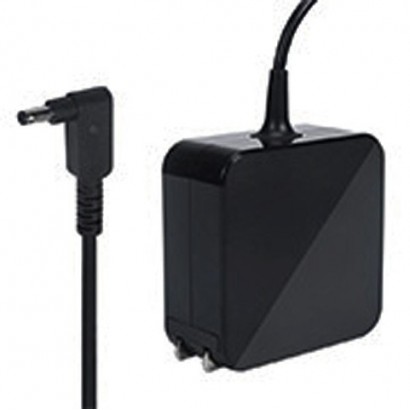
19V 2.37A 45W Square AC Power Adapter Charger for Asus X553 X553M X553MA Q302LA
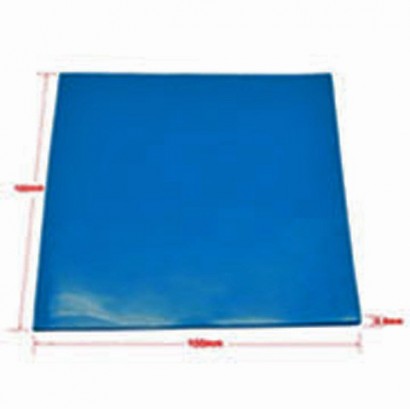
0.5mm Blue GPU CPU Heatsink Silicone Compound Thermal Conductive Pad
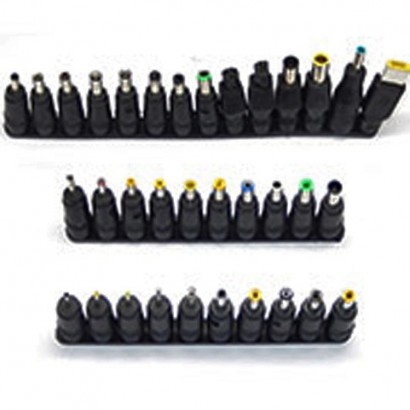
1 set DC Power 5.5*2.1mm Jack to 34 Plug Adapter Notebook Universal 66 Male Adapter Audio Connector

HP 4535S 4730S 8460P 8450p 8460p 6460b 6470B 8460W 4530S CPU cooling fan 646285-001 641839-001

1 set DC Power 5.5*2.1mm Jack to 36 Plug Adapter Notebook Universal 66 Male Adapter Connector + Power cord clamp
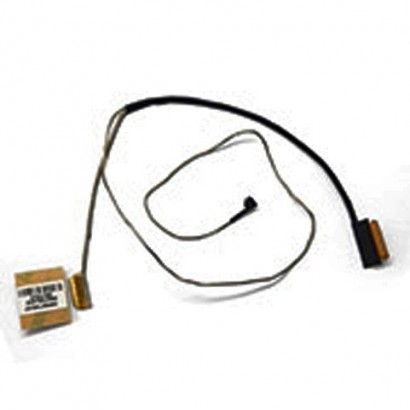
LVDS Cable for screen HP 15-ab p/n: DDX15ALC000 DDX15ALC010 DDX15ALC020 809342-001

T13-B BaKon integrated heating core lead-free portable 75W constant temperature soldering iron core
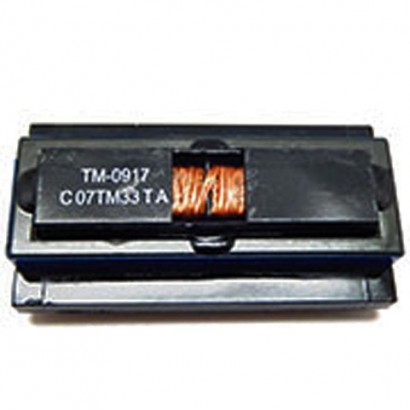
TM-1017 TM-0917 LCD Inverter Transformer For Samsung 940NW 740N
LVDS Cable for screen Lenovo G470 G475 P/N: DC020015T10 PIWG
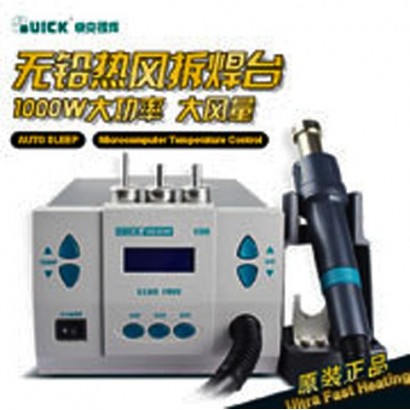
QUICK 861DW lead-Free hot 1000W 220V High-Power Hot air Disassembly Station

30W Soldering Iron with T-head + Blue Teflon Cable

CM141 Lead-Free Titanium Alloy Solder Soldering Pot Desoldering Bath 900W 220V