Andonstar ADSM201 HDMI 1080P Digital Microscope Electronics Inspection PCB Repair
Login to Download: Download software User Manual
Product Description
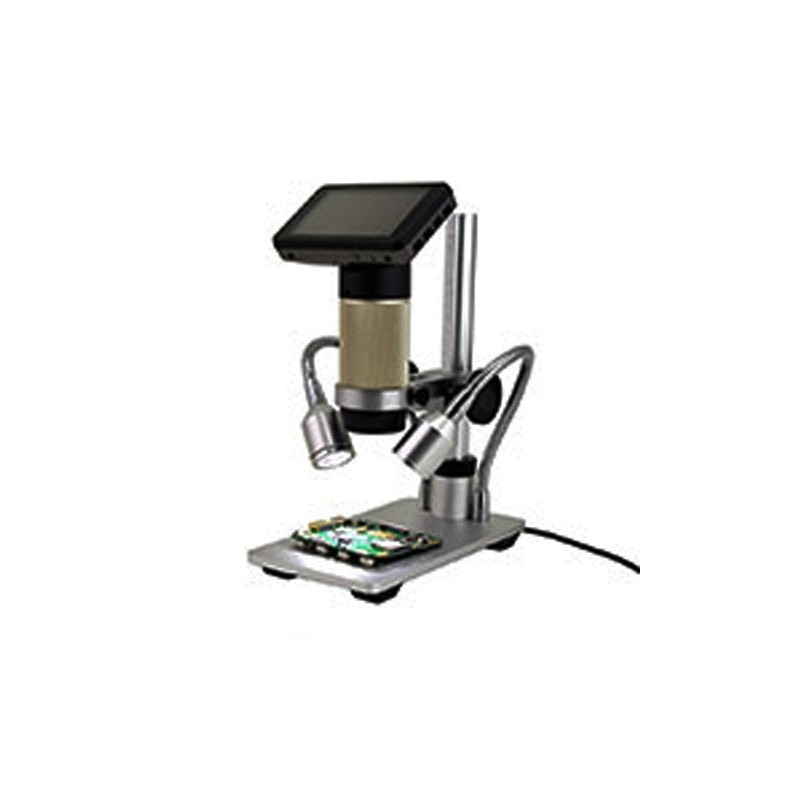
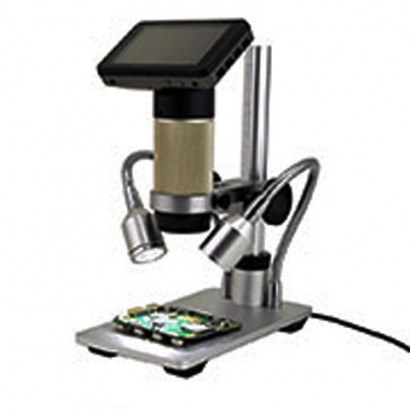
The Andonstar HDMI USB Digital Microscope is for PCB soldering repair. Top quality, elegant appearance, HD video, real time imagery, smooth and clear, sturdy and durable. If you need one, don't hesitate, it's the best choice for you.
Advantages
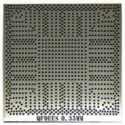
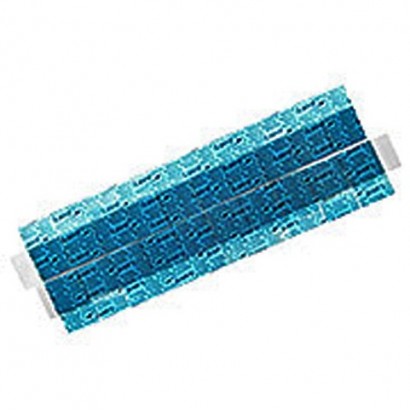
1. 300 times magnification, 1920*1080P, 30fps, HDMI out, and high quality non-interpolate Large CMOS sensor.
2. Digital zoom, 4.
3. Ample working distance: 4cm - 15cm.
4. Bring dual lights own, reduce inverted image, help illuminate your target object.
5. Reasonable depth of field: our microscope makes it quite clear to see no matter how complicated the structure of object is.
6. Exclusive lens: reduce veiling glare and prevent from harm of smudging which produced in the process of soldering.
7. Real time imagery, smooth and clear, no smear, no lag or latency.
8. Metal stand, sturdy and durable, demonstrates quality. The camera also supports stabilisation technology, very little camera shake when working on an item on the platform.
9. Software is compatible in windows 7 and windows 8 and no driver is needed.
Operate steps
General mode (without PC & HDMI display )
1. keep press on/off button to turn on the camera (We advise you connect the external power supply when you do some operation as the battery can't work for long time alone).
2.Press menu button to do set up. Use the up and down to choose. And press menu again to quit when you finish that.
3.Press OK to record your operation, and OK to stop it. During that time, you can press up or down to amplify or reduce the view.
4.Press M button, which means capture picture, to get into capture mode, and press OK to capture a picture.
5.Press M button again to get into play back mode. Use the up and down button to choose the file you want to check. When you find the file, press menu button, you can delete/protect/slide show the file. Press M button again to quit this mode (PS: If the file didnt been protect, when the memory card is full, it will be cover by the new files).
USB 2.0 output mode (PS: At this USB output mode, maximum resolution ratio can only get to 1080*720P )
1.Connect the microscope with the PC.
2. 2 Options will show on the screen of microscope: PC camera & Mass storage. Choose the PC camera.
3.Open the software, the title will show the storage path.
4.Record a video: Capture?start capture?OK?stop capture.
5.The video will automatic be saved as the path which the title shows. If you want a copy file in case the next time be covered by other videos, you can click File?save capture video, and change the name of the file.
6.Capture a picture:
Capture?still?enable
Capture?still?folder(choose a storage path)
Capture?snap(capture a picture, or you can just press Enter on your keyboard)
HDMI display output mode (PS: At this mode, maximum resolution ratio can reach to 1920*1080)
1. Connect the microscope with the HDMI display.
2. Rest step just like in general mode.
Notice
1. Keep the tool dry, clean, free from oil, water, gas or other materials capable of causing corrosion.
2. Keep bystanders, children away while operating the tool.
3. Do not overreach, keep proper footing and balance at all time.
Feature
Top quality with elegant appearance
Ample working distance
Reasonable depth of field
Exclusive lens reduce veiling glare
Smooth and clear real time imagery
Sturdy and durable
Demonstrates quality
The camera also supports stabilisation technology
Amazing effect of HDMI export
Bring dual lights own helps illuminate your target object
Specifications
Power source: 5V DC
Image sensor: 3 Mega Pixels
Video output: 1080p Full HD
Video format: MOV
Photo format: JPEG
Magnification ratio: 10x - 300x
Frame rate: Max 30f/s under 600 Lus brightness
Focus range: Manual focus 10 - 500 mm (0.4 - 19.7 inch)
Video-output interface: HDMI, to any monitor with HDMI-In
Storage: Micro SD card, up to 32G(Not include)
Working distance: 4 - 15 cm (1.6 - 5.9 inch)
Size of the metal stand: 8 x 14.5 cm (3.2 x 5.7 inch)
Package size: 25 x 18.5 x 8.3 cm (9.9 x 7.3 x 3.3 inch)
Weight: 1.2 kg (2.7 lbs)
Package Content
1 x Digital Microscope Host
1 x Metal Base Stand (2 LED Lights On The Stand)
1 x HDMI Cable
1 x USB Cable
1 x Adapter